 da Lungern venduto da SpideyPrince")
 da Lungern venduto da SpideyPrince 1")
 da Lungern venduto da SpideyPrince 2")
 da Lungern venduto da SpideyPrince 3")
 da Lungern venduto da SpideyPrince 4")
 da Lungern venduto da SpideyPrince 5")


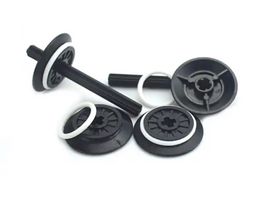
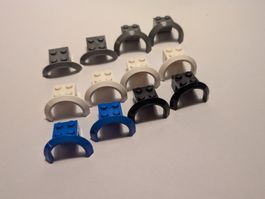
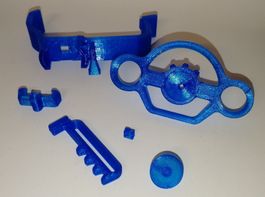
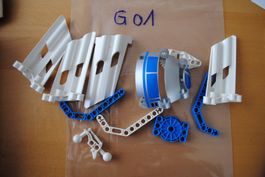
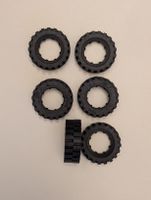
Farbe Weiss
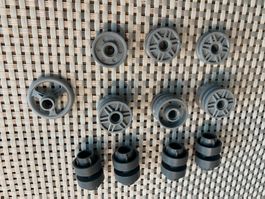
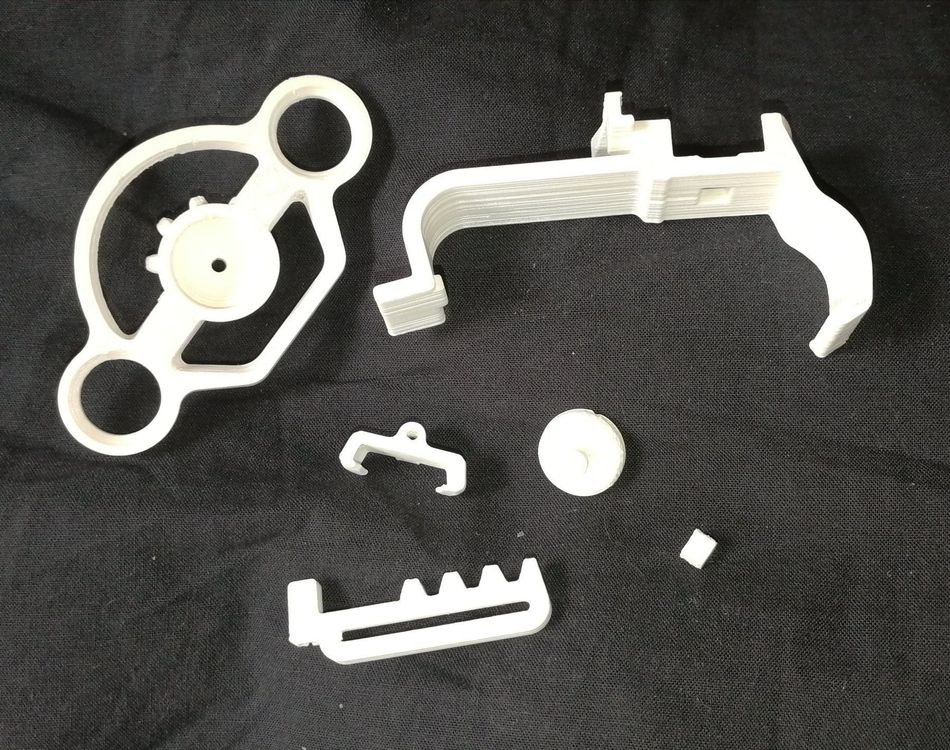
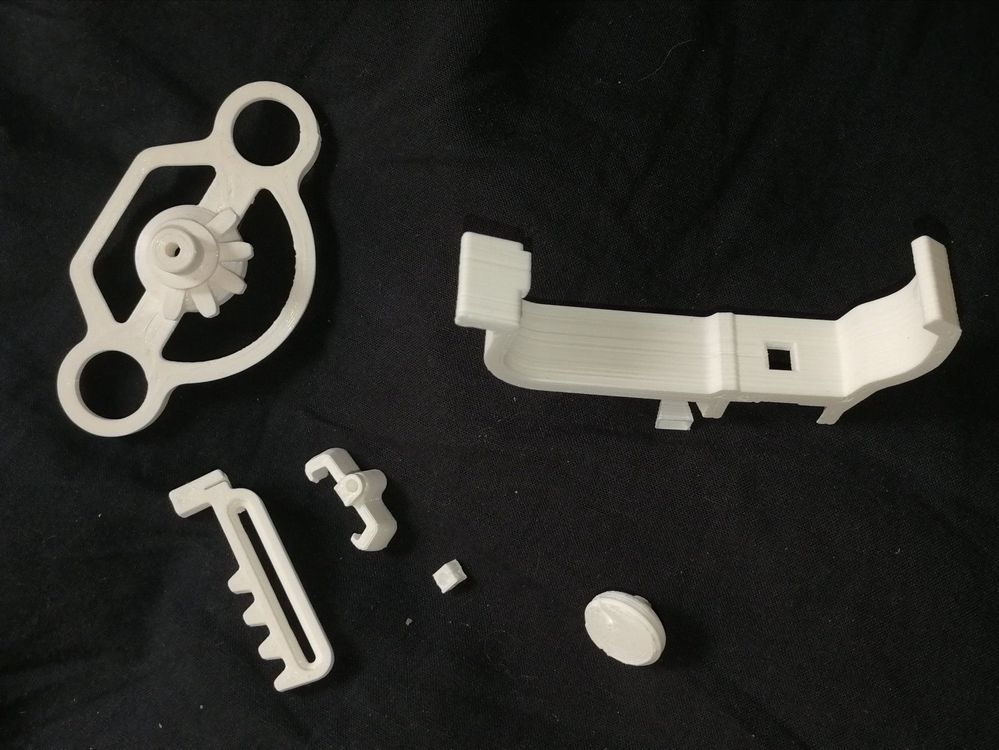
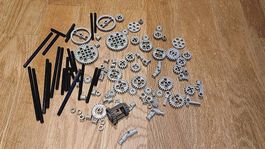
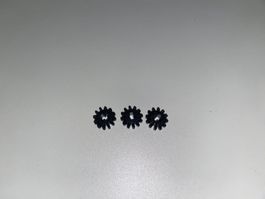
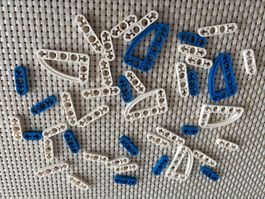
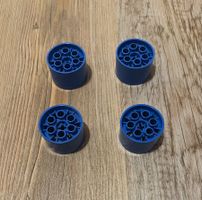
Dies ist ein Bausatz aus 6 Teilen für ein Playstation 5 Controller Mini Wheel. Die Farbe sehen sie auf dem ersten Bild. Sie können auch verschiedene PS5 Wheels Farben bestellen und sind beliebig kombinierbar! Sehen sie dazu bei meinen anderen Angeboten nach! Die Teile müssen sie selber zusammenbauen, sollten sie Fragen oder Hilfe benötigen schreiben sie mich einfach an.
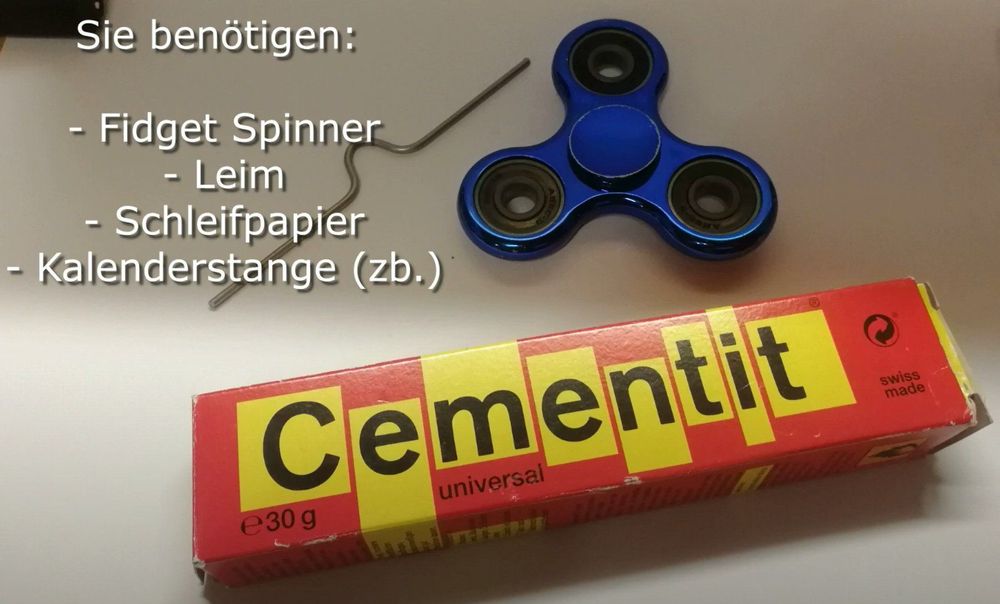
BITTE BEACHTEN, SIE BENÖTIGEN FOLGENDE SACHEN:
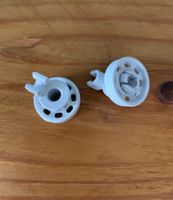
- Einen Fidget Spinner (Kugellager muss ein Loch mit Innendurchmesser von ca. 0,8cm haben!)
- Leim
- Schleifpapier
- Metallstange ca. 1,6mm dick (Beispielsweise Nagel oder Kalenderstange)
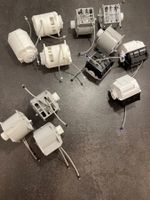
Die gerade aufgezählten Dinge (siehe auch Foto) sind NICHT im Lieferumfang dabei!
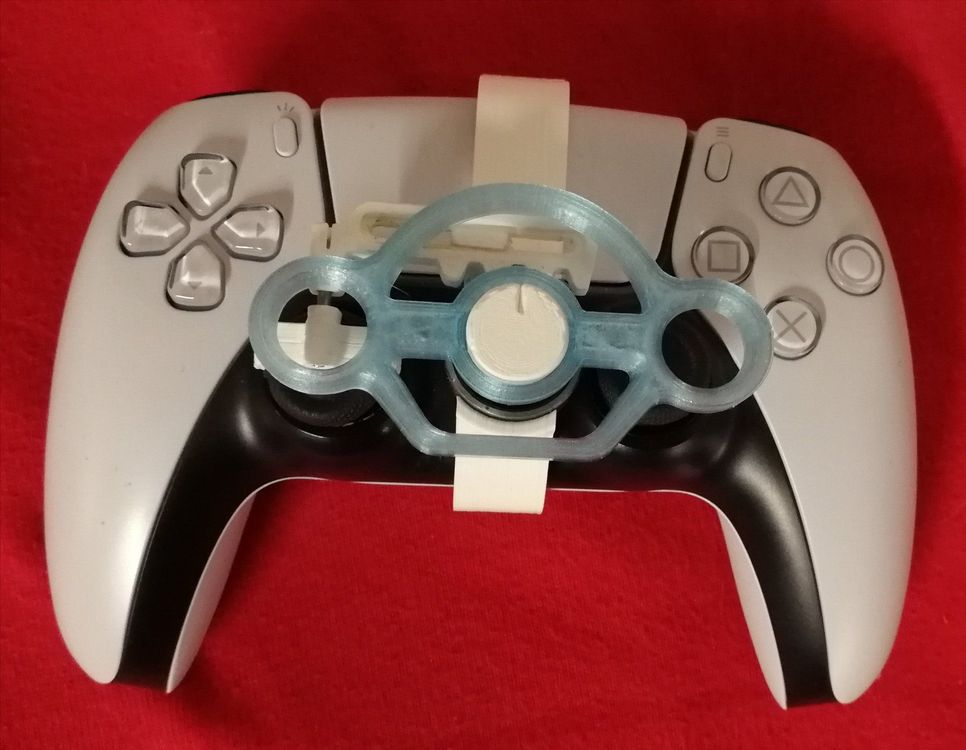
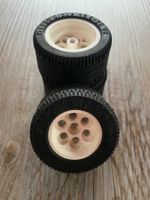
Ebenfalls ist der PS5 Dualsense Controller nicht mit dabei, es dient lediglich als Vorschaubild wie es am Ende ca. Aussehen sollte (in den bestellten Farben versteht sich..)
Eine Videoanleitung für den zusammenbau finden sie hier:
https://www.youtube.com/watch?v=HQEsNH5bprs
BITTE BEIM BEZAHLEN DIE RICARDO NUMMER ANGEBEN
(kein Twint zurzeit möglich)
Eine abholung in Obwalden ist ebenfalls möglich gegen Barzahlung ohne Portokosten.
Die englische Bauanleitung füge ich hier ein:
What you need:
- 608 bearing, 22mm diameter, 7mm thick, 8mm center. Get one from that dusty fidget spinner you have laying around...also skateboard bearings
- 1.6mm diameter metal rod X2 [butterfly paper clip/14 gauge finishing nail/wire]
- Superglue
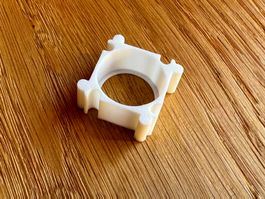
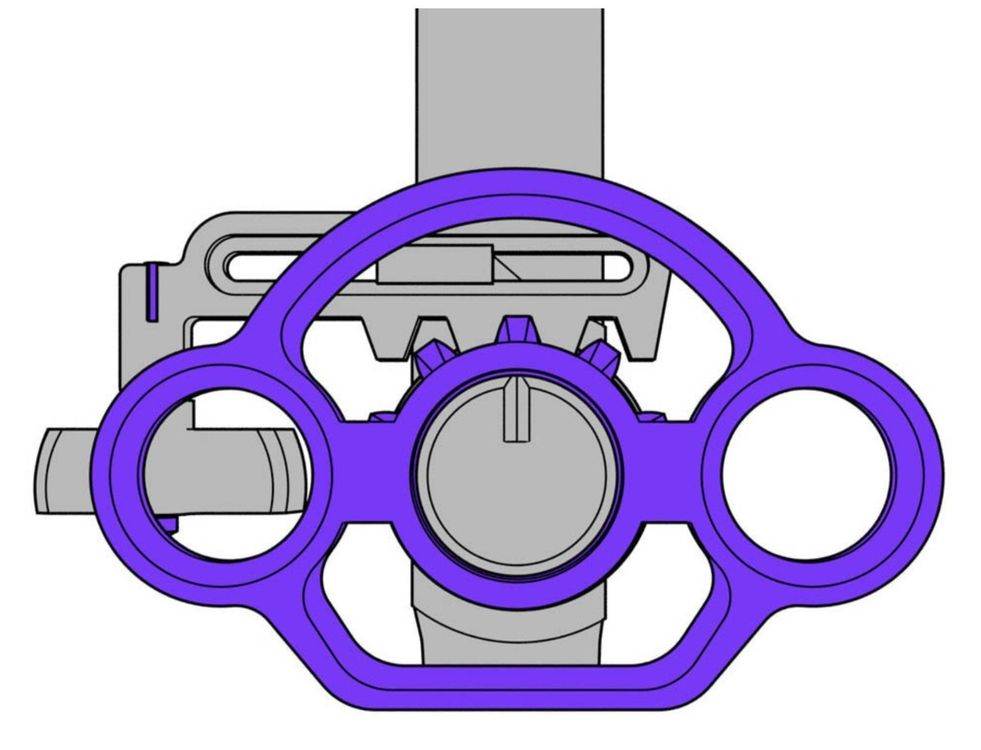
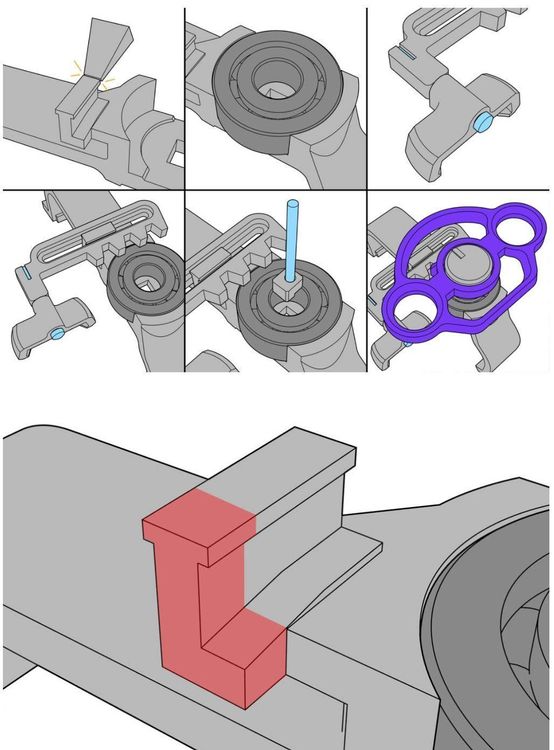
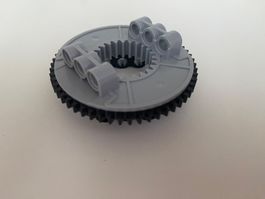
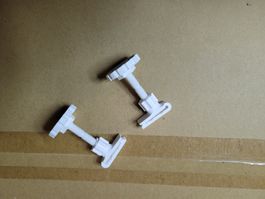
Break off the support piece
Glue the top and bottom edge of the bearing into the frame. Wait for glue to dry. Superglue might leave a white haze on the controller if it's not dry.
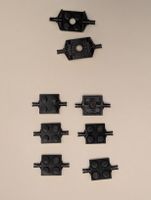
Attach the pivot to the rack:
Method 1:
Cut down a 14 gauge finishing nail to a length of 20 mm. Pass the nail up through the pivot and into the rack. The pivot should spin free on the nail with minimal play. Put a drop of superglue in the slotted part of the rack. This is probably the most ideal setup. A piece of paperclip [wire] works but it's tricky to get a tight bend on the end.
Method 2:
Kids, don't play with fire...
Take a straight piece of 1.75mm diameter filament and heat the end with a lighter for just over a second. Mash the end so it looks like a nail head. Pass the filament up through the pivot and into the rack. The pivot should spin free on the filament with minimal play. Trim the filiment so 3mm sticks out of the rack. Heat with a lighter and mash flat. This is the most accessable method, but not very strong. Having it break mid race would not be fun. Do this as a last resort.
Snap the rack onto the frame
Attach the assembly to the controller. Start by sliding the pivot on to the left stick. Clip the back of the frame on, then the front.
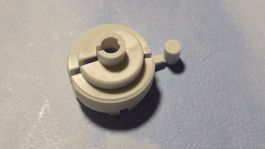
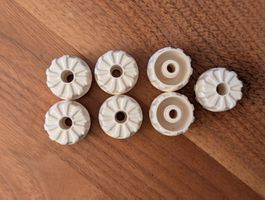
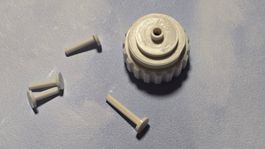
Glue a 22mm length of metal rod into the "nub". Pass this down through the bearing and frame. There is a step in the nub, have this on the left side.
Press the wheel into the bearing and glue the horn on the rod.
If the rack motion is not smooth, check the T-track area [2nd image below] that might be distorted due to printing a very small section with little time to cool. Refine the area with an x-acto blade/file/sand paper.
Crank up the in game sensitivity and enjoy


-weiss)
)
)
-auto)
-de-vanne-pour-thermostat-de-radiateur)